Here are some of the creations we made.

It's Your Birthday YAY card

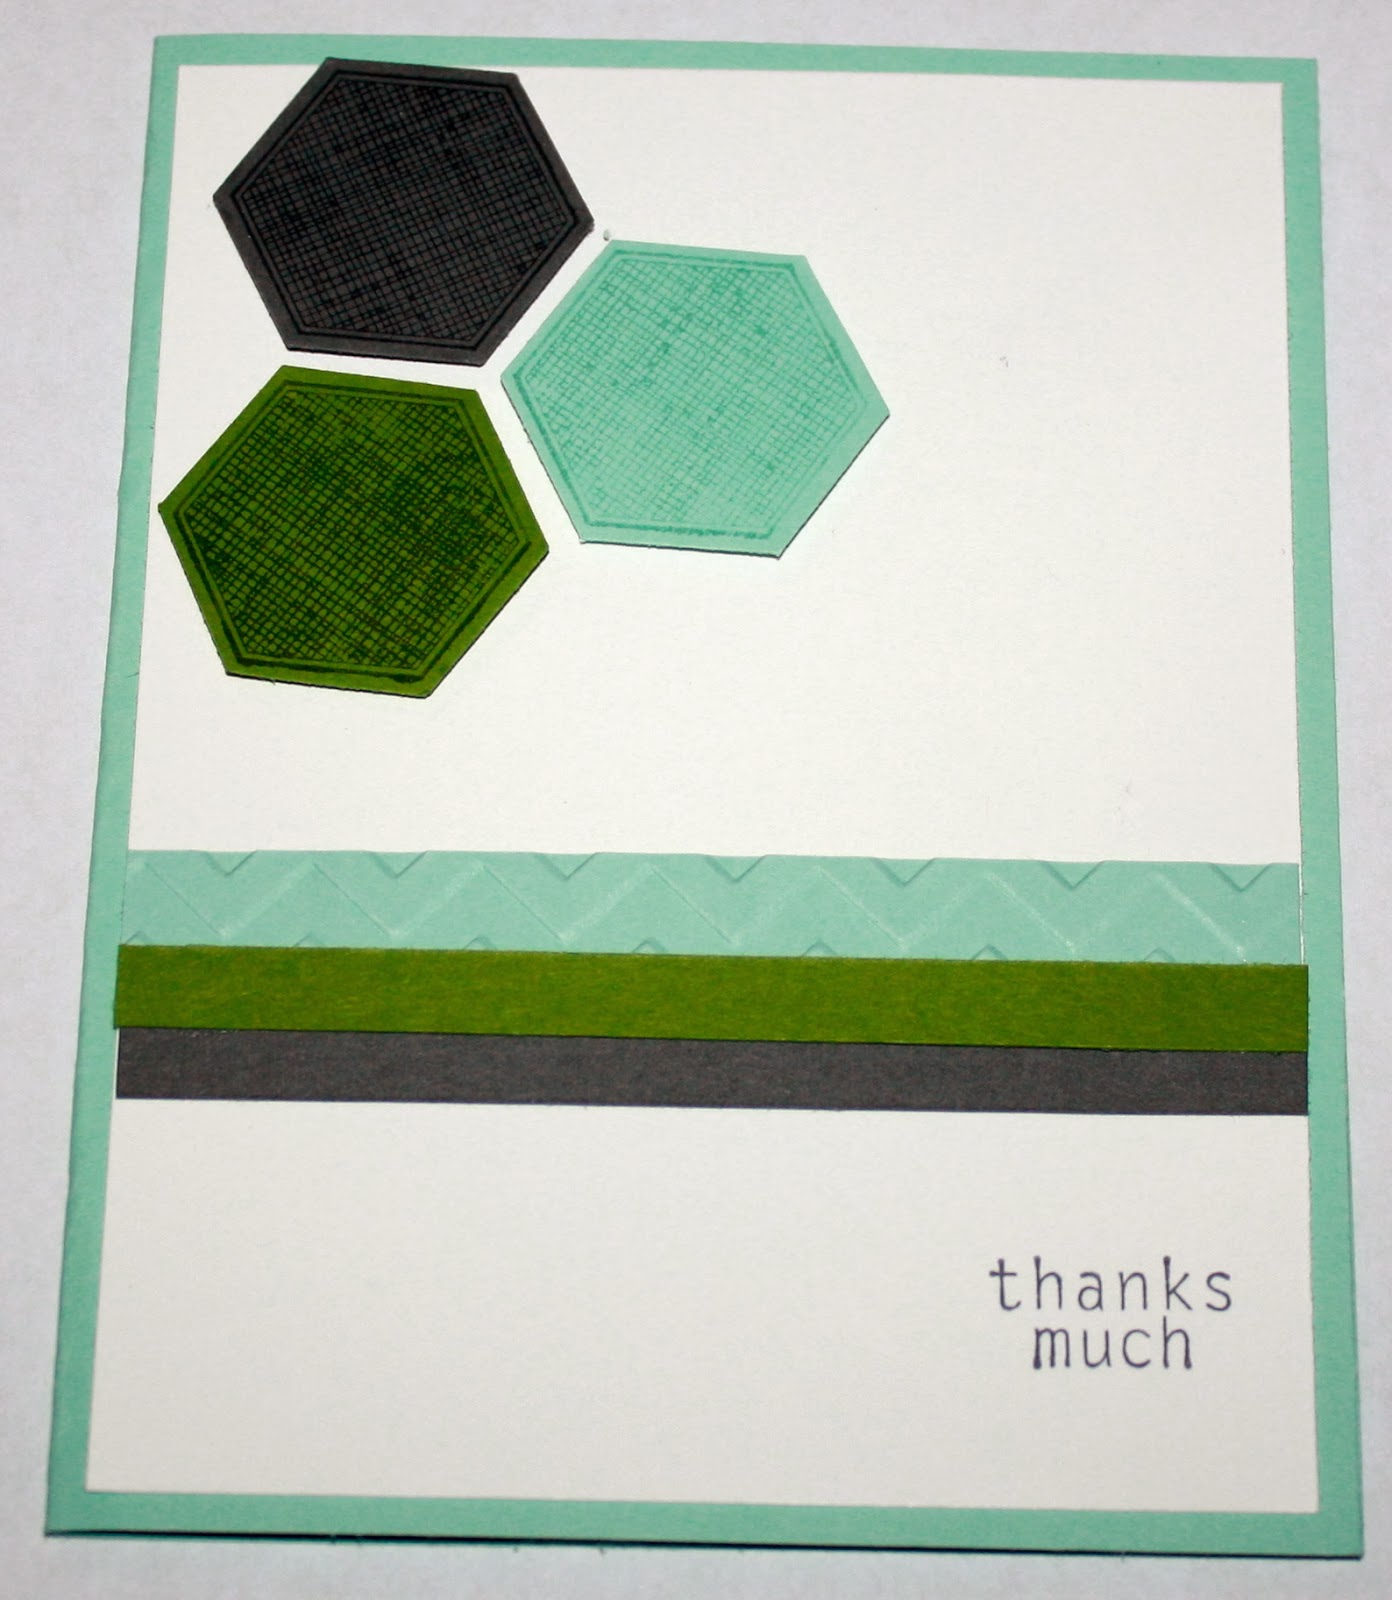
Pistachio Wisteria Flower Power card

Quatro Heart Anniversary Card

Daughter's Birthday Invitation
Stampin Up! Supplies used:
It's Your Birthday Yay card
Stamp Sets: Fitting Occasions, Balloon Bash (Occasions Catalogue)
Card Stock: Strawberry Slush (my fav), Basic Gray, Pink Pirouette, Whisper White
Ink: Strawberry Slush Classic Stampin' Pad, Basic Gray Stamping' Write Marker
Accessories: Big Shot Die Cut Machine, Perfect Polka Dots Expressions Folder, Stamping Dimensions, Neutrals Buttons, 1-1/4" Square Punch (to make end of Whisper White Banner)
Pistachio Wisteria Flower Power card
Stamp Sets: Petite Petals
Card Stock: Pistachio Pudding, Basic Gray, Wisteria Wonder, Whisper White
Ink: Pistachio Pudding Classic Stampin' Pad, Basic Gray Classic Stampin' Pad, Wisteria Wonder Classic Stampin' Pad
Accessories: Big Shot Die Cut Machine, Decorative Dots Embossing Folder (my fav), Blossom Punch, Petite Petals Punch, Itty Bitty Flower Punch (from Itty Bitty Trio Punch set), 1/8" silver brad
Quatro Heart Anniversary Card
Stamp Sets: Memorable Moments,
Card Stock: Smoky Slate, Whisper White, Strawberry Slush, Primrose Petals (Retired)
Ink: Smoky Slate Classic Stampin' Pad, Strawberry SlushClassic Stampin' Pad, Primrose Petals Classic Stampin' Pad (Retired), Melon Mambo Classic Stampin' Pad, Blushing Bride Classic Stampin' Pad
Accessories: Stampin' Dimensionals, Small Heart Punch (Retired), Rhinestone Jewel
Daughter's Birthday Invitation
Stamp Sets: Celebrate Today, Zoo Babies
Card Stock: Whisper White, Coastal Cabana
Ink: Strawberry Slush Classic Stampin' Pad, Early Espresso Classic Stampin' Pad, Basic Gray Classic Stampin' Pad, Peach Parfait Classic Stampin' Pad (Retired)
Happy Stampin'!
Michelle B
Independent Stampin' Up! Demonstrator
inspire. create. share.