Thursday, September 22, 2011

Sweet Centers Balloon Birthday Card


I needed to have a birthday card ready for tomorrow and here is what I ended up making tonight.   Isn't it fun!  I was looking through my birthday stamp sets and this one popped out at me....It is the Sweet Centers ( 116521) stamp set.  I can honestly say I don't think I have ever made a birthday card with this stamp set.  Well now I guess I can't say that anymore.  Haha!  When putting candy in a card like this one you need to make sure that the recepient of the card is able to get the candy out after.  I did this in 2 ways.  I took my Cutter Kit (106958) and made an X in the Crumb Cake card stock as well as on a piece of Whisper White card stock.  Now all the birthday gal has to do it open both piece of card stock where the X is and voila she has a little yummy treat on her birthday.  Here are some pics to show and directions on how I made this card....


Make a 1-3/4" circle in a piece of Whisper White card stock.  Make sure the edges of the Whisper White card stock is small enough to center the punched out circle.  Set the punched out circle aside as we will be using it later.  Next stamp the Balloon Basket image from the Sweet Centers stamp set using a Early Espresso Classic Stampin' Pad.


I put the Whisper White card stock with the balloon basket image on top of a piece of Pink Pirouette card stock and then traced the 1-3/4" circle on to it.  Because the Pink Pirouette card stock had wider edges I could not use the same Punch that I did on the Whisper White card stock.  Instead I had to use my Circle Scissor Plus to make the hole here.


Next I placed the Pink Pirouette card stock onto the center of the Crumb Cake card front base so that I could make an X in the center of the circle so that the candy could be easily accessible.  I made the X using the perforation tool in the Cutter Kit.


I then placed the Whisper White card stock on top of the Pink Pirouette card stock to see what the card would look like.  I did not adhere it down yet.  I then put some Smarties inside the Treat Cup.  I then took everything apart and placed the Pink Pirouette card stock over top of the Treat Cup.  You can add the candy after wards if it is easier for you.


Now remember the Whisper White 1-3/4" Whisper White card stock circle we had set aside...well we need it now.  This will help to keep the candy inside the Treat Cup when we place it on the front of the card.  Before placing the Whisper White circle over top of the Treat Cup center I made an X in the center of it using the Cutter Tool.  Once you have made an X you can then peel off the backing of the Treat Cup and then place the circle onto the center of it. 


Next center the Pink Pirouette layer over top of the Crumb Cake card front base.  This is how your card should look before putting the balloon basket image on top.  I added some Stampin' Dimesionals to my Whisper White card stock with the balloon basket image to give it some dimension.  Next decorate the card front as you wish. Voila now you have a super cute birthday card with a treat for the birthday gal!  The Treat Cups can be filled with almost anything...buttons, ribbon, sayings, punched out card stock in different shapes, etc. I could go on and on.

Stampin' Up! Supplies used:
Stamp Set: Sweet Centers, Create a Cupcake
Paper: Crumb Cake card stock, Pink Pirouette card stock, Whisper White card stock, Pretty In Pink card stock
Ink: Early Espresso Classic Stampin' Pad
Accessories: Big Shot Die-Cut Machine, Vintage Wallpaper Textured Impressions Embossing Folder, 1-3/4" Circle Punch, Treat Cup, Stampin' Dimesionals, Pretty In Pink 1/8" Tafetta Ribbon, Scallop Border Punch

Happy Stamping!
Michelle B
Independent Stampin' Up! Demonstrator
inspire. create. share.

Sunday, September 18, 2011

Baby Rattle Card


I have recently started back to work full-time.....yes after being at home with my kids for 6 years we (Hubby & I) decided I should give it a try.  It is a HUGE adjustment and am hoping with each passing week that the kids settle more and more in our new routine.  And with each passing week I am hoping to find some consistent stamping time.  I am pretty sure my nights will even out and I won't be so tired and need to go to bed so early.  hehehe  I did manage to find some stamping time tonight!  It seems that I am WAY behind on my baby cards.  Which means I need to find a quick and easy card that I can make a whole bunch of in next to no time.  Those types of cards are my FAV! 

Here is a baby boy card I made using the Button Buddies stamp set.  I guess you could place a button on the "rattle" part of the stamp but I thought that would be a bit silly as then you would loose all of the detail that this image has.  Perhaps I should make one with a button so we can compare.  I will write that on my "Cards I need to make" list.  This card was fairly easy to make.  It isn't that fussy for details and doesn't really have a lot of stamping.  I did color the image with Stampin' Write Markers instead of ink pads so that I could get some different colors.

Stampin' Up! Supplies used:
Stamp Set: Button Buddies, Tiny Tags
Paper: Bashful Blue card stock, Whisper White card stock, Island Indigo card stock
Ink: Bashful Blue Stampin' Write Marker, Chocolate Chip Stampin' Write Marker, Pacific Point Stampin' Write Marker (I don't have the Island Indigo one yet)
Accessories: Big Shot Die-Cut Machine, Perfect Polka Dots Textured Impressions Embossing Folder, Stampin' Dimesionals, Bashful Blue 5/8" Satin Ribbon, 2-3/8" Scallop Circle Punch, 1-3/4" Circle Punch, Jewelery Tag Punch

Happy Stamping!
Michelle B
Independent Stampin' Up! Demonstrator
inspire. create. share.

Wednesday, September 7, 2011

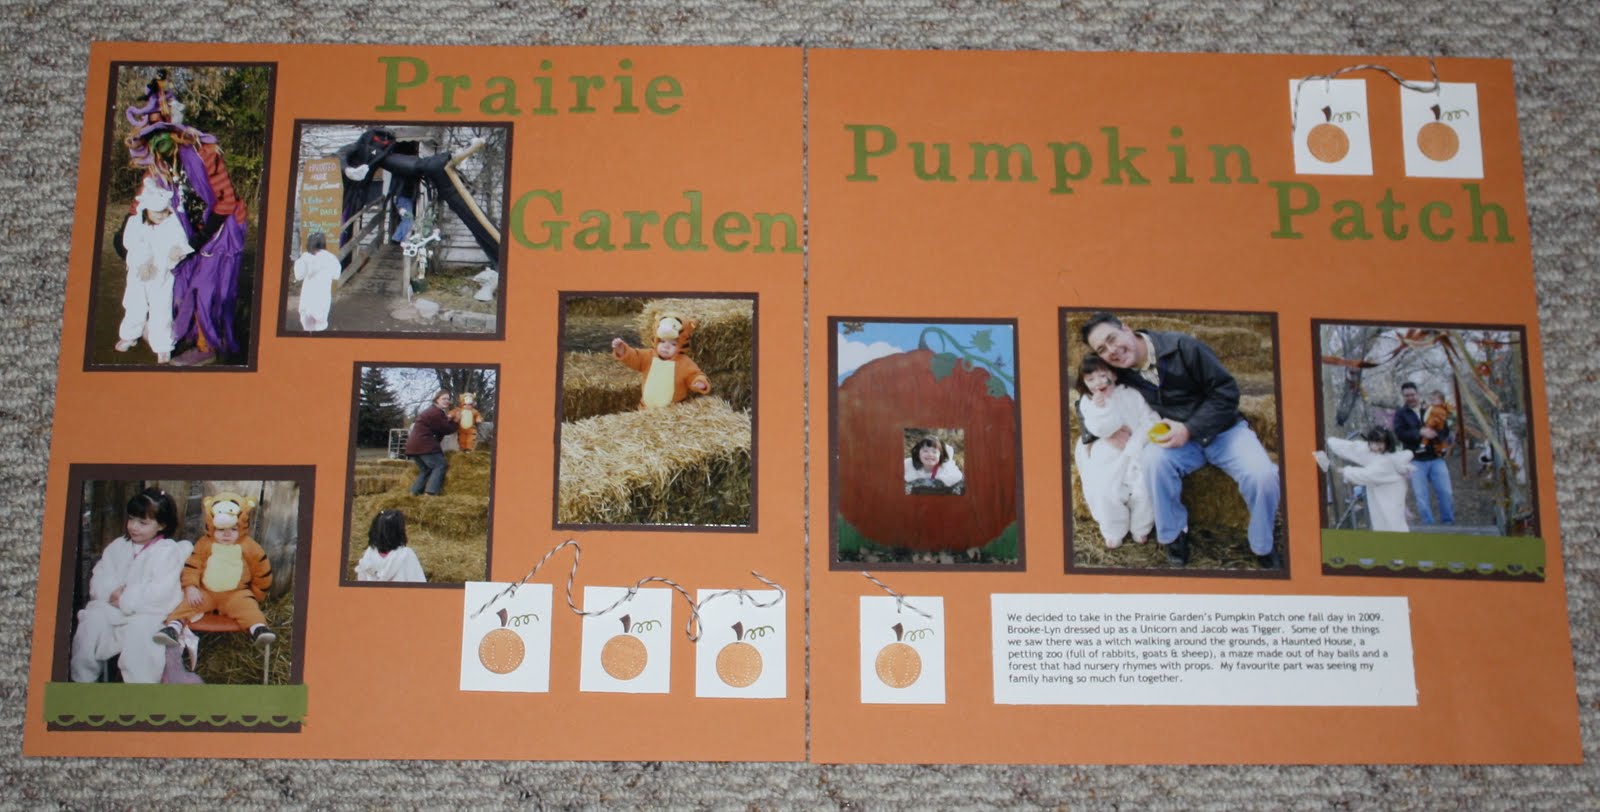
Pumpkin Patch Scrapbook Layout


My 2011 stamping technique & scrapbook club is coming to an end.  Our last meeting is this Sunday.... :o(  Although I did enjoy myself (I always do!!) this year I think next year I am going to change the meetings to every month instead of every 3 month.  That is just too much time in between meetings.  If you are interested in joining My stamping technique & scrapbook club next year please send me an email to register.  We will start in January 2012. 

OK now let's talk about the scrapbook project.  It feels like fall to me...well not during the day but at night so I picked a fall theme for our last club project.  I did tell my members if they wanted to they could pick whatever theme they wanted but they needed to use a stamp from the Button Buddies stamp set.  I also told them that if they wanted to they could also change the color scheme of their layout too.  I can't wait to see what they come up with.

Happy Stamping!
Michelle B
Independent Stampin' Up! Demonstrator
inspire. create. share.

Wednesday, August 31, 2011

September 18 - Christmas card stamp camp

It is that time again.....time to get a head start on your handmade Christmas cards!  I will be hosting 4 Christmas Card Stamps Camps during the Fall/Winter Season.  At each class you will make 12 cards (4 cards of 3 different designs) with matching envelopes. By the last stamp camp in December you will have made 48 Christmas cards.  At each stamp camp there will be a draw for a "stamping surprise".  Attend all 4 Christmas card stamp camps and your name will be entered into a draw on the last class for a great prize....a FREE STAMP SET!

Cost is $25.00 for non-club members or
$22.00 for club members
Class Dates are: September 18, October 8, November 13 & December 3, 2011.
Times: 1:00 p.m. to 3:00 p.m.
RSVP: click here to register via email

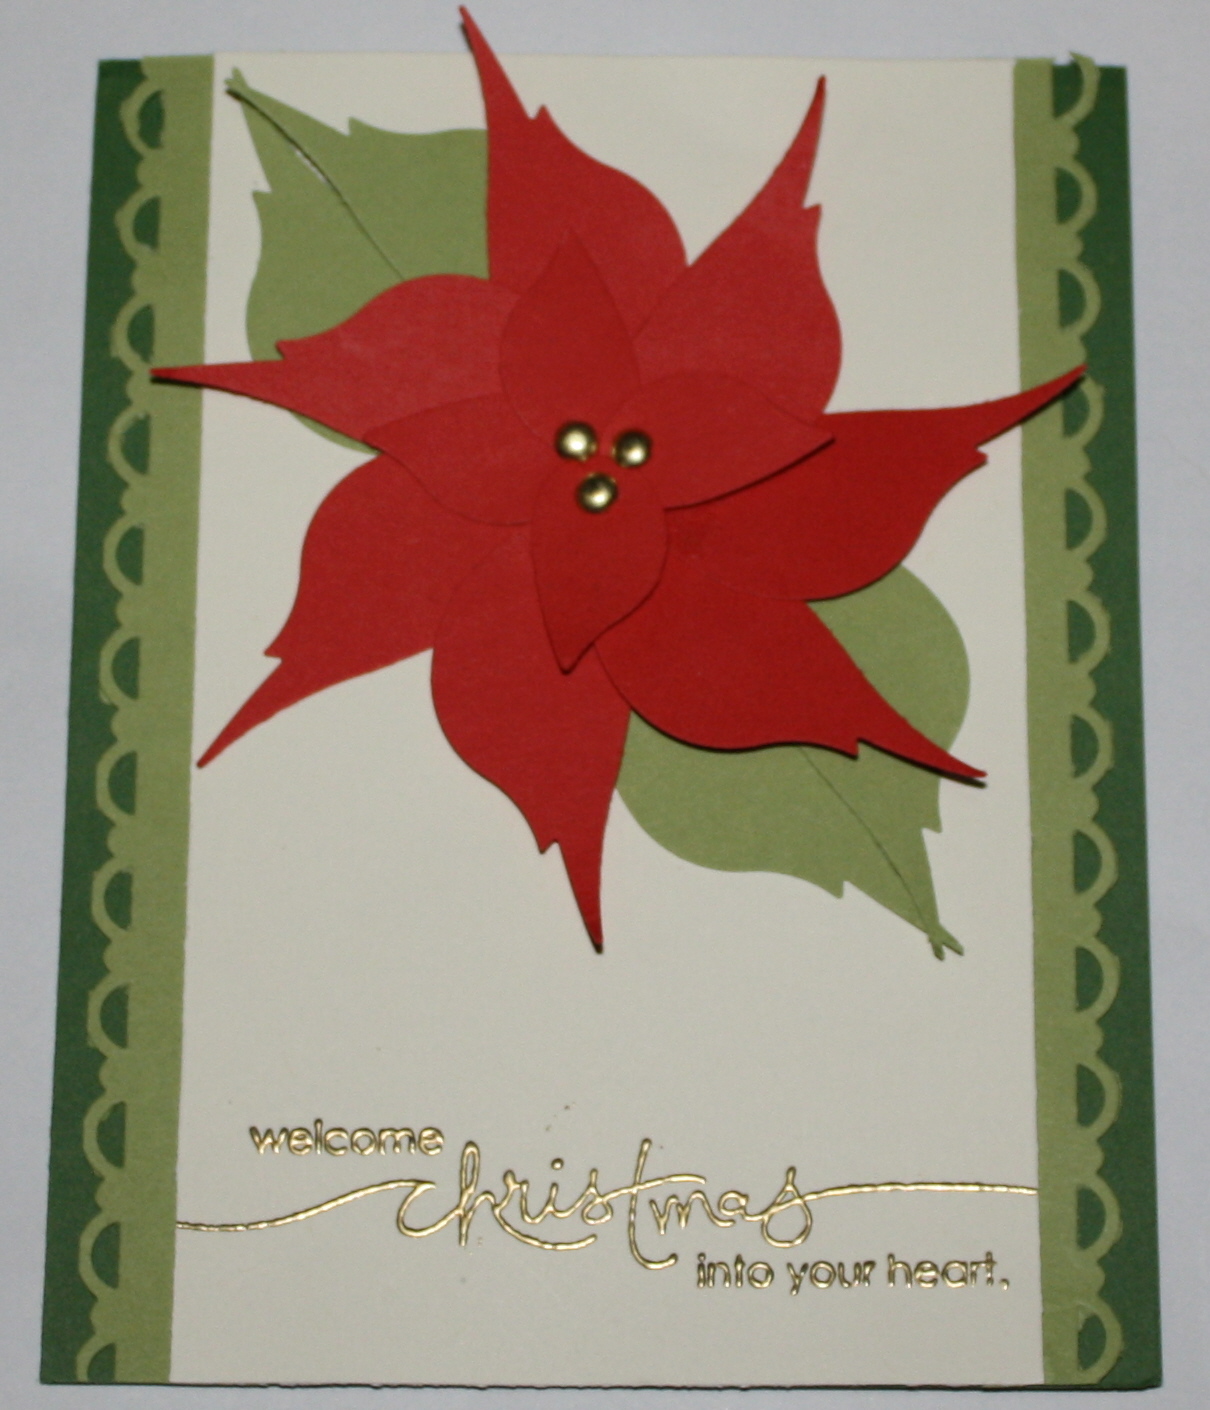
Below are 2 of the 3 designs that we will be making at the September 18 Christmas card stamp camp.  I hope you like them.

Marina Snowflake Card


Poppy Christmas Poinsettia


Happy Stamping!

Michelle B
Independent Stampin' Up! Demonstrator
inspire. create. share.
Friday, August 26, 2011

Clearly for You Birthday card


Another card made using a couple of different images from the Clearly for You stamp set.  Hehehe I like it when you can make a variety of cards using one stamp set.  I needed a birthday card to mail out to my friend so I stamped the words 'happy birthday' on a piece of Whisper White card stock then punched the words out using the Modern Label punch.  I then added a little bling by placing a couple of Rhinestone Jewels on either end of the Modern Label punched out card stock.

Stampin' Up! supplies used:
Stamp set: Clearly for You, Teeny Tiny Wishes
Paper: Calypso Coral card stock, Crumb Cake Textured card stock, Whisper White card stock
Ink: Early Espresso Classic Stampin' Pad
Accessories: Big Shot Die Cut Machine, Vintage Wallpaper Textured Impressions Embossing Folder, Early Espresso 5/8" Satin Ribbon, Scallop Trim Border and Corner Punch, Modern Label Punch, Stampin' Dimensionals

Happy Stamping!
Michelle B
Independent Stampin' Up! Demonstrator
inspire. create. share.

Tuesday, August 23, 2011

Nature Clearly For You card


I have seen many cards with the the different images in the "Clearly For You" stamp set so I thought I would try that idea.  Here is my version.  Here is a card made by Mary Fish that I saw and was inspired by.  Mary used alot of the different images in the Clearly For You card on her card.  Isn't her card gorgeous!?! Mary is such a talented stamper.  I visit her blog often to get inspiraion.  Thanks Mary! 

My card size is 4"-1/2" x 4"-1/2".  Just perfect to add a little note to someone.

Stampin' Up! Supplies used:
Stamp Set: Clearly for You
Paper: Pear Pizzazz card stock, Crumb Cake textured card stock, Whisper White card stock, Early Espresso card stock
Ink; Early Espresso Classic Stampin' Pad
Accessories: Big Shot Die-Cut Machine, Vintage Wallpaper Textured Impressions Embossing Folder, Neutrals Designer Button

Happy Stamping!
Michelle B
Independent Stampin' Up! Demonstrator
inspire. create. share

Monday, August 22, 2011

In-Colors Button card

I have noticed that I am late at sending out some "welcome" RAK cards for the newbies that are joining that group on SCS so I needed to make some cards for that.  Here is one that I made using some in-colors and the Buttons, Buttons stamp set.  This stamp set rarely gets used and I am not too sure why.  I made a couple of cards with it and am happy with the results.  The words "for you" are taken from the "Clearly for you" stamp set.  Whoever I send this to I hope it makes their day!

Stampin' Up! supplies used:
Stamp Sets: Buttons, Buttons, Clearly for You
Paper: Poppy Parade card stock, Peach Parfait card stock, Pear Pizzazz card stock, Soft Suede card stock, Very Vanilla card stock
Ink: Poppy Parade Classic Stampin' Pad, Peach Parfait Classic Stampin' Pad, Pear Pizzazz Classic Stampin' Pad, Early Espresso Classic Stampin' Pad
Accessories: Neutrals Designer Buttons, Very Vanilla Taffeta Ribbon

Happy Stamping!
Michelle B
Independent Stampin' Up! Demonstrator
inspire. create. share.

Friday, August 19, 2011

Hello Button Buddies Flower Card


OK I promise after this upload I will switch to a different stamp set.  hahaha I am really enjoying the Button Buddies stamp set.  I found the flower already embossed and sponged sitting on my stamp table so I must not have liked the original plan for it.  Well here is a different card I made using it.  The Flower image was stamped in VersaMark on Crumb Cake card stock then embossed with White Embossing Powder and the sponged with Early Espresso Classic Ink.  This time I did add a button from the Neutrals Designer Buttons so that I could add a little tag in the center of the flower.  The Whisper White layer behind the flower has the Elegant Lines Textured Impressions Embossing folder on it.  I like that look.

Stampin' Up! Supplies used:
Stamp Set: Button Buddies, Tiny Tags
Paper: Wild Wasabi card stock, Crumb Cake cards tock, Whisper White card stock, Early Espresso card stock
Ink: VersaMark Pad, Early Espresso Classic Stampin' Pad, Garden Green Stampin' Write Marker
Accessories: Big Shot Die-Cut Machine, Perfect Polka Dots Textured Impressions Embossing Folder, Elegant Lines Textured Impressions Embossing Folder, Neutrals Designer Buttons, Early Espresso 5/8" Satin Ribbon, Stampin' Dimensionals, Crimper, Scallop Trim Border Punch, Jewellry Tag Punch

Happy Stamping!
Michelle B
Independent Stampin' Up! Demonstrator
inspire. create. share.

Thursday, August 18, 2011

A little house card

I saw a card in a stamping magazine and thought it was all too cute.  Here is my version.  To make the roof I crimped 5 pieces of Early Espresso Textured card stock.  I then made a scallop border using the Scallop Edge Border Punch.  I put some SNAIL Adhesive on the scallop borders and lined them up the way I wanted them.  When my roof was all lined up the way I wanted it I then cut both sides at an angle with my paper cutter making a tip at the top.  Once I was happy with it I glued it down to the House part.  For the chimeny I cut a piece of Early Espresso smooth card stock into a rectangle and positioned it where I wanted it.  For the windows I cut 4 1" x 1" squares out of Baja Breeze card stock.  The door is an oval shape with part of the end tucked into the grass.
To make the green grass I just did random cuts along a piece of Pear Pizzazz card stock using my scissors.

I am going to use this card as one of the sample real estate cards that I sell to real estate agents.  It will be upoloaded to my INKspired Greetings & Baby Things! blog.  If you want to check that out the address is http://www.inkspiredgreetings.blogspot.com/.  I also noticed that we have a new neighbour just down the street from us.  This card might make her feel welcome.  Hehehe I love surprising people with handmade cards.

Stampin' Up! Supplies used:
Stamp Set: Tiny Tags, En Francais
Paper: Crumb Cake card stock, Pear Pizzazz card stock, Poppy Parade card stock, Baja Breeze card stock, Very Vanilla card stock, Early Espresso Textured & Smooth card stock
Ink: Early Espresso Classic Stampin' Pad
Accessories: Paper Crimper, Scallop Edge Border Punch, Neutral Glitter Brads, Oval Punch, Jewellery Tag Punch, Old Olive 1/8" Taffeta Ribbon

Happy Stamping!
Michelle B
Independent Stampin' Up! Demonstrator
inspire. create. share.
Wednesday, August 17, 2011

Poppy Parade Button Buddies card


This time instead of placing Pearls in the inside of each flower I used VersaMark, Heat & Stick powder and then Dazzling Diamonds Glitter.  I liked the way this turned out.  You might have to click on the image to make it bigger so that you can see the sparkly centres of the flowers.  This stamp set makes for some quick and easy cards.  This card layout isn't hard to re-create either.  Now I just need to find someone to send this to.

Stampin' Up! Supplies used:
Stamp Set: Button Buddies, Perfect Words (hostess)
Paper: Poppy Parade card stock, Pear Pizzazz card stock, Whisper White card stock
Ink: Poppy Parade Stampin' Write Marker, Pear Pizzazz Stampin' Write Marker, Early Espresso Stampin' Write Marker, VersaMark pad
Accessories: Big Shot Die-Cut Machine, Framed Tulip Textured Impressions Embossing Folder, Heat Gun, Heat & Stick Powder, Dazzling Diamonds Glitter, Itty Bitty Buttons

Happy Stamping!
Michelle B
Independent Stampin' Up! Demonstrator
inspire. create. share.