Monday, August 30, 2010


Stampin' Up! has added some new products to their Clearance Rack.  Great Deals while quantities last.  The clearance rack is only good for online orders.  Click here to order online.  If you are not an online customer all you need to do is go to the customer online link and create an account.  It is that easy.  Place an online order between now and September 11, 2010 and your name will be put into a draw for a surprise product that I ordered from the Holiday Mini.

Happy Stamping or should I say Happy Shopping!
Michelle

Michelle's Christmas Stamp Camps Details

It’s time to register for Fall/Winter Stamping Classes……………………..

I’m hosting 4 Christmas card stamp camps during the Fall/Winter season. At each class, you will make 10 cards (5 of 2 designs) with matching envelopes. So, by December’s Christmas card stamp camp date you will have made 40 Christmas cards! At each stamp camp there will be a draw for a “stamping surprise”.  Attend all 4 Christmas card stamp camps and your name will be put into a draw on the last class for a great prize. Please RSVP at least a week ahead of the class you want to attend. Remember space is limited so register early to avoid disappointment.

The Christmas cards that will be featured at each Christmas card stamp camp will be uploaded on my Stampin’ Up! Demonstrator website as well as my Stamping Blog under "the date of the camp" ahead of time so that you will be able to see what we will be making.  If you click on the link below the class dates and times you will also be able to see the cards as well.

Cost: $25.00 for non-club members
         $22.00 for club members
Class Dates: September 19, October 24, November 21, December 19
Where: My house
Time: 3:00 p.m. to 5:30 p.m.

As always if you are able to attend you can always get the supplies to go.

September 19 Stamp Camp

October 24 Stamp Camp
October's Stamp Camp will also feature 2 Halloween cards for my stamping friends to make.  The cost is $8.00 (2 each of 2 card designs) including envelopes.  When registering for this stamp camp please let me know if you are interested in making the Halloween cards too.

November 21 Stamp Camp

December 19 Stamp Camp
An added "stamping extra" for this stamp camp is to fill a jar with Christmas tags using the Tags til Christmas stamp set.  I will have all of the supplies ready, all you need to do is bring a jar from home.  If you don't have a jar from home, please let me know as I have some I can share.  The cost is $5.00 and there is no limit on the number of tags you make.
Happy Stamping!


Michelle Blackburn
Independent Stampin' Up! Demonstrator
inspire. create. share.
http://michelleblackburn.stampinup.net - my demonstrator website
http://littlemicstamps.blogspot.com - my stamping blog

Thursday, August 26, 2010

Happy Holidays - Multicolored Snowflakes

Here is the second card design that will be featured at my September 19 Christmas card stamp camp.  This card was really fun to make.  I usually don't demonstrate techniques at my Christmas card stamp camps but I thought why not spice it up.  The technique on this card is "Multicolored Stamp Pad".  It is very fun to do.  If you look closely at the snowflakes you will see they have a bunch of different colors in them.  To find more details about my September 19 Christmas card stamp camp please go to my calendar events on the right hand side of my blog or to my Stampin' Up! Demonstrator website.  The link is also on the right hand side of my blog.  I hope you can join me on September 19 from 3:00 p.m. to 6:00 p.m. not only for an afternoon of stamping fun but so you can also learn this fun and dazzling stamping technique.

Stampin' Up! Supplies used:
Stamp set: Serene Snowflakes, Four the Holidays
Paper: Marina Mist card stock, Bashful Blue card stock, Whisper White card stock
Ink: Night of Navy Classic Stampin' Pad, Marina Mist, Bashful Blue, Night of Navy and Baja Breeze Classic ink refills
Accessories: 2-way Glue Pen, Dazzling Diamonds Glitter, Linen Thread 

To order the products to make this card, please contact me directly or go online to my Stampin' Up! Demonstrator website. There is a direct link on the left hand side of my blog.

Happy Stamping!
Michelle

Wednesday, August 25, 2010

Christmas in August...ack!

Well if you are like me and need to send out 70 plus Christmas cards starting them in August isn't all that crazy.  I couldn't resist posting the cards for my upcoming September 19 Christmas card stamp camp.  Every fall/winter I host a series of 4 Christmas card classes.  At each class you will leave with 10 Christmas cards (5 of 2 designs) with matching envelopes.  By the time December's Christmas card stamp camp is over you will have made 40 Christmas cards.  That is if you attend each Christams card class.  Here is one of the 2 designs that will be featured on September 19.  If you look at Stampin' Up!'s Holiday Mini catalogue on page 32 you will see a similar Christmas Wreath on a project they made.  When I saw that Christmas Wreath made out of Stampin' Up!'s Candy Cane Designer Series Paper I knew I had to make a card version.  Isn't it cute.  Join me on September 19 from 3:00 p.m. to 6:00 p.m. and re-create this Christmas card.  You can find more details for this stamp camp on my demonstrator website under my calendar events or simply click my calendar events on my stamping blog.

Stampin' Up! Supplies used:
Stamp Set: Teeny Tiny Wishes
Paper: Garden Green card stock, Wild Wasabi card stock, Whisper White card stock, Candy Cane Designer Series Paper (Holiday Mini)
Ink: VersaMark
Accessories: Silver Embossing Powder, Vanilla Shimmer Smooch Spritz, 1/2" Circle Punch, 3/4" Circle Punch, Scallop Edge Punch, Modern Label Punch

To order the products to make this card, please contact me directly or go online to my Stampin' Up! Demonstrator website. There is a direct link on the left hand side of my blog.

Happy Stamping!
Michelle

Pick A Petal Wax On Technique


Here is another card featuring the Wax On technique.  I went a little crazy and made a 5 different cards with this technique.  The cool part is it didn't take me that long.  yeah!  I love finding a new technique that is easy to make lots of cards with.

Stampin' Up! Supplies used:
Stamp Sets: Teeny Tiny Wishes, Pick a Petal
Paper: Early Espresso card stock, Whisper Whtie cards tock, Crumb Cake card stock
Ink: Early Espresso Classic Ink, Blushing Bride Classic Ink
Accessories: Brayer, Scallop Trim Border Punch, Clearlits Scallop Rectangle Die, Whisper White 1/4" Grosgrain Ribbon, Big Shot Die-Cut Machine, Perfect Polka-Dots Textured Impressions Folder,Sending Love Epoxy Brad (Retired)

To order the products to make this card, please contact me directly or go online to my Stampin' Up! Demonstrator website. There is a direct link on the left hand side of my blog.

Happy Stamping!
Michelle

Simply Said Wax On


Wax On is the technique used in this card.  Do you see the white flowers - well I got that effect by using my daughter's White Wax Crayon on the flower petals and then I used a brayer to cover the card front with Blushing Bride Classic Ink.  This technique is that easy......all you need is a lined or doodle type stamp set (I used Simply Said), a White Wax Crayon, a brayer and 2 different colors of ink (I used Early Espresso Classic Ink for the flowers outline & Blushing Bride Classic Ink to cover the card front).  Easy Peasy and the results are cool.  P.S.  I have always thought it looked really neat whenever I saw words punched out with the jewellery tag punch and then hung on ribbon with linen thread so I broke down and bought the jewellery tag punch just so I could do that.  hahaha I know that is a little crazy.

Stampin' Up! Supplies used:
Stamp Sets: Simply Said, Teeny Tiny Wishes
Paper: Crumb Cake card stock, Whisper White card stock, Early Espresso card stock
Ink: Blushing Bride Classic Ink, Early Espresso Classic Ink,
Accessories: Big Shot Die-Cut Machine, Perfect Polka Dots Textured Impressions Folder, Whisper White 1/4" Grosgraing Ribbon, Scallop Border Trim Punch, Jewellery Tag Punch, Linen Thread

To order the products to make this card, please contact me directly or go online to my Stampin' Up! Demonstrator website. There is a direct link on the left hand side of my blog

Happy Stamping!
Michelle

Monday, August 23, 2010

Dry Emboss Circles Technique card

Here is the card I demonstrated at my July Stampin' Technique & Scrapbook Club.  This card features Dry Embossed Circles just like the scrapbook page I demonstrated it.  This technique is really easy and fun to do.  And guess what it makes a grea accent on a masculine birthday card - yeah!  No more guessing and being frustrated on creating a masculine card....all I have to do is grab my stylus and circles template made out of Stampin' Up!'s thick window sheet and voila a masculine card sporting dry emboss circles.

Stampin' Up! Supplies used:
Stamp Sets: Birthday Bliss, All Holidays
Paper: Soft Suede Textured card stock, Certainly Celery card stock, Bashful Blue card stock
Ink: Soft Suede Classic Stampin' Pad
Accessories: Scallop Circle Punch, 1-1/4" Circle Punch, Paper Piercer, 2 Bashful Blue Soft Subtles Brads, Stampin' Dimensionals, Big Shot Die-Cut Machine, Thick Window Sheets, Circles #2 Bigz Die, Stylus

To order the products to make this card, please contact me directly or go online to my Stampin' Up! Demonstrator website. There is a direct link on the left hand side of my blog.
Happy Stamping!
Michelle

Michelle's Scrapbook Layout of the Month.......July


Here is the scrapbook layout of the month for July.  This is the page I did for my daughter and also the page I demonstrated at my July Stampin' Technique and Scrapbook Club.  The version I did for my son has already been posted.  You should check out how different these two layouts look by having 2 different color schemes.  The Certainly Celery card stock has dry embossed circles around it.  To do that technique all you need is a template with circles on it and a stylus.  I made my template by using the Big Shot Die-Cut machine and the Circles #2 Bigz Die.  I cut out the whole Circles #2 Bigz Die in thick window sheets (Stampin' Up! brand) tossed away the circles and kept the negative as my template.  I then put the template on my table, put the certainly Celery Card stock on top and used my finger to find a circle and then used my stylus to dry emboss that circle.  I then repositioned my template to do another dry emboss circle and so on.

Another technique I demonstrated on this scrapbook page was the use of Stampin' Up!'s new builder wheels.  It is so easy to use 3 builder wheels at a time and to get each one of have a different color by using a triple cell cartridge.  Before I used to use my Standard and Jumbo wheels on a Classic or Craft Ink Pad to get ink on them but when you are using more than one builder wheel it is kind of hard to do that.  I bought an un-inked triple cell cartridge, added Certainly Celery, Chocolate Chip and Rich Razzleberry Classic Re-Inkers and voila easy peasy.

Here is a close up of the Certainly Celery dry embossed circles.....

The possiblities for this technique are endless with the Big Shot Die-Cut Machine and all of the Big Shot Dies available.  A winter scrapbook page with dry embossed snowflakes would look good.
Stampin' Up! Supplies used:
Stamp Set: Birthday, Candle Craze & So Many Stars Builder Wheels, Birthday Bliss, Word Play
Paper: Rich Razzleberry Textured card stock, Certainly Celery card stock, Whisper White card stock, Chocolate Chip card stock
Ink: Certainly Celery Stampin' Write Marker & Classic Re-Inker, Rich Razzleberry Classic Stampin' Pad & Classic Re-Inker, Chocolate Chip Classic Re-Inker
Accessories: Big Shot Die-Cut Machine, Circles #2 Bigz Die, Stylus, Stampin' Dimensionals, Alphabet Simple Numbers Bigz Die

To order the products to make this scrapbook page, please contact me directly or go online to my Stampin' Up! Demonstrator website. There is a direct link on the left hand side of my blog.

Happy Stamping!
Michelle 

Friday, August 20, 2010

Michelle's Scrapbook Layout of the Month...June!

I was checking my blog to see what it looks like to you and notice I am behind on uploading some of my scrapbook pages.  Yikes!


Here is my June scrapbook layout of the month.  This scrapbook layout was featured at my June Stampin' Technique and Scrapbook Club.  I came across a scrapbook page similar to this in one of Stampin' Up!'s Stamping Success Magazines.  This is a magazine that Stampin' Up! Demonstrators get once a month.  It is full of products ideas, card and scrapbook layouts and it also has ways to promote your Stampin' Up! business.  I always look forward to receiving it.  A great perk for Stampin' Up! Demonstrators.  The scrapbook page they features had a neutral tone to it.  I love the idea of 4 pictures similar in size in the middle of the page (like on the 2nd page of my scrapbook layout).  It is amazing how different a scrapbook layout can look when you change around the color scheme.  hehehe

Stampin' Up! Supplies used:
Stamp set:
Paper: Rich Razzleberry Textured card stock, Soft Suede Textured card stock, Razzleberry Lemonade Designer Series paper, Whisper White card stock, Melon Mambo card stock, Crushed Curry Textured card stock, Dusty Durango card stock
Ink:
Accessories: Big Shot Die-Cut Machine, Naturally Serif Sizzlits Decorative Strip, Beautiful Butterflies Bigz Die, Vanilla Shimmer Smooch Spritz, Sewing Machine, Perfect Polka Dots Textured Impressions Folder

To order the products to make this scrapbook page, please contact me directly or go online to my Stampin' Up! Demonstrator website. There is a direct link on the left hand side of my blog.

Happy Stamping!
Michelle

Wednesday, August 18, 2010

Crumb Mist Petal Card


hahaha I am laughing at the name of this card.  Oh Boy I may have to hire someone to name my cards.  This is another idea I had...to use the En Francais background stamp with the Pick A Petal stamp set.  My vision of this was a bit different but I like the outcome of it anyway.  The Very Vanilla card stock I used to make this wasn't big enough for my original idea so instead I ended up cutting out the petals and making a flower with them this way.  Which is good because I have this card which I have made and will have another card which I need to make out of one idea.  Okay enough babbling.  This card I made for a friend of mine as a thank you for joining my ribbon and embellishment assortment.  I hope she likes it.  Before I put the card into my sewing machine it was missing something so I decided to sew the Crumb Cake card stock down.  As you can see I am not a perfectionist when it comes to sewing.  I wonder what this card would look like with a straight stitch instead of a zigzag one.  Hmmmmmm

Stampin' Up! Supplies used:
Stamp Sets: En Francais, Pick A Petal
Paper: Marina Mist card stock, Crumb Cake card stock, Very Vanilla card stock,
Ink: Chocolate Chip Classic Stampin' Pad
Accessories: Old Olive 5/8" Satin Ribbon, Sewing Machine, Big Shot Die-Cut Machine, Perfect Petals Textured Impressions Folder, Old Olive Brights Button 

To order the products to make this card, please contact me directly or go online to my Stampin' Up! Demonstrator website. There is a direct link on the left hand side of my blog.

Happy Stamping!
Michelle

Cajun Espresso Heart Card


I always struggle in giving my cards names........hahaha I usually name them the colors I have used along with the stamp set.  Sometimes it suits the card and sometimes not...like this one.  Oh well.  I have been a busy bee since we have returned home from holidays.  Here is a card that I sent to one of my stamping friends thanking her for joining my ribbon and embellishment assortment.  I hope she likes it.  I have had the idea of using the En Francais background stamp with the I {heart} Hearts stamp set.  It turned out exactly how I wanted it to...I love it when that happens.

Stampin' Up! Supplies used:
Stamp sets: En Francais, I {heart} Hearts
Paper: Cajun Craze card stock, Certainly Celery card stock, Very Vanilla card stock, Early Espresso card stock
Ink: Early Espresso Classic Stampin' Pad, Chocolate Chip Classic Stampin' Pad
Accessories: Big Shot Die-Cut Machine, Perfect Polka-Dots Textured Impressions Folder, Sewing Machine, Full Heart Extra-Large Punch, Heart to Heart Punch Extra-Large Punch, Ice Circle Rhinestone Brad

To order the products to make this card, please contact me directly or go online to my Stampin' Up! Demonstrator website. There is a direct link on the left hand side of my blog.

Happy Stamping!
Michelle

Sweet Centers Sunflower


I was able to get a better picture of the 3" x 3" sunflower card I made.  Here it is...  I think I am going to make more of these to have on hand as they could be a card for any occasion.  The only problem with this card I think is it needs some bling.......hmmmmmmm perhaps a Rhinestone brad somewhere.

Stampin' Up! Supplies used:
Stamp Set: Sweet Centres
Paper: Very Vanilla card stock, Early Espresso card stock
Ink: Daffodil Delight Classic Stampin' Pad, Pear Pizzazz Stampin' Write Marker
Accessories: Big Shot Die-Cut Machine, Lattice Textured Impressions Folder

Happy Stamping!
Michelle

Wednesday, August 11, 2010

3 x 3 is a perfect size.


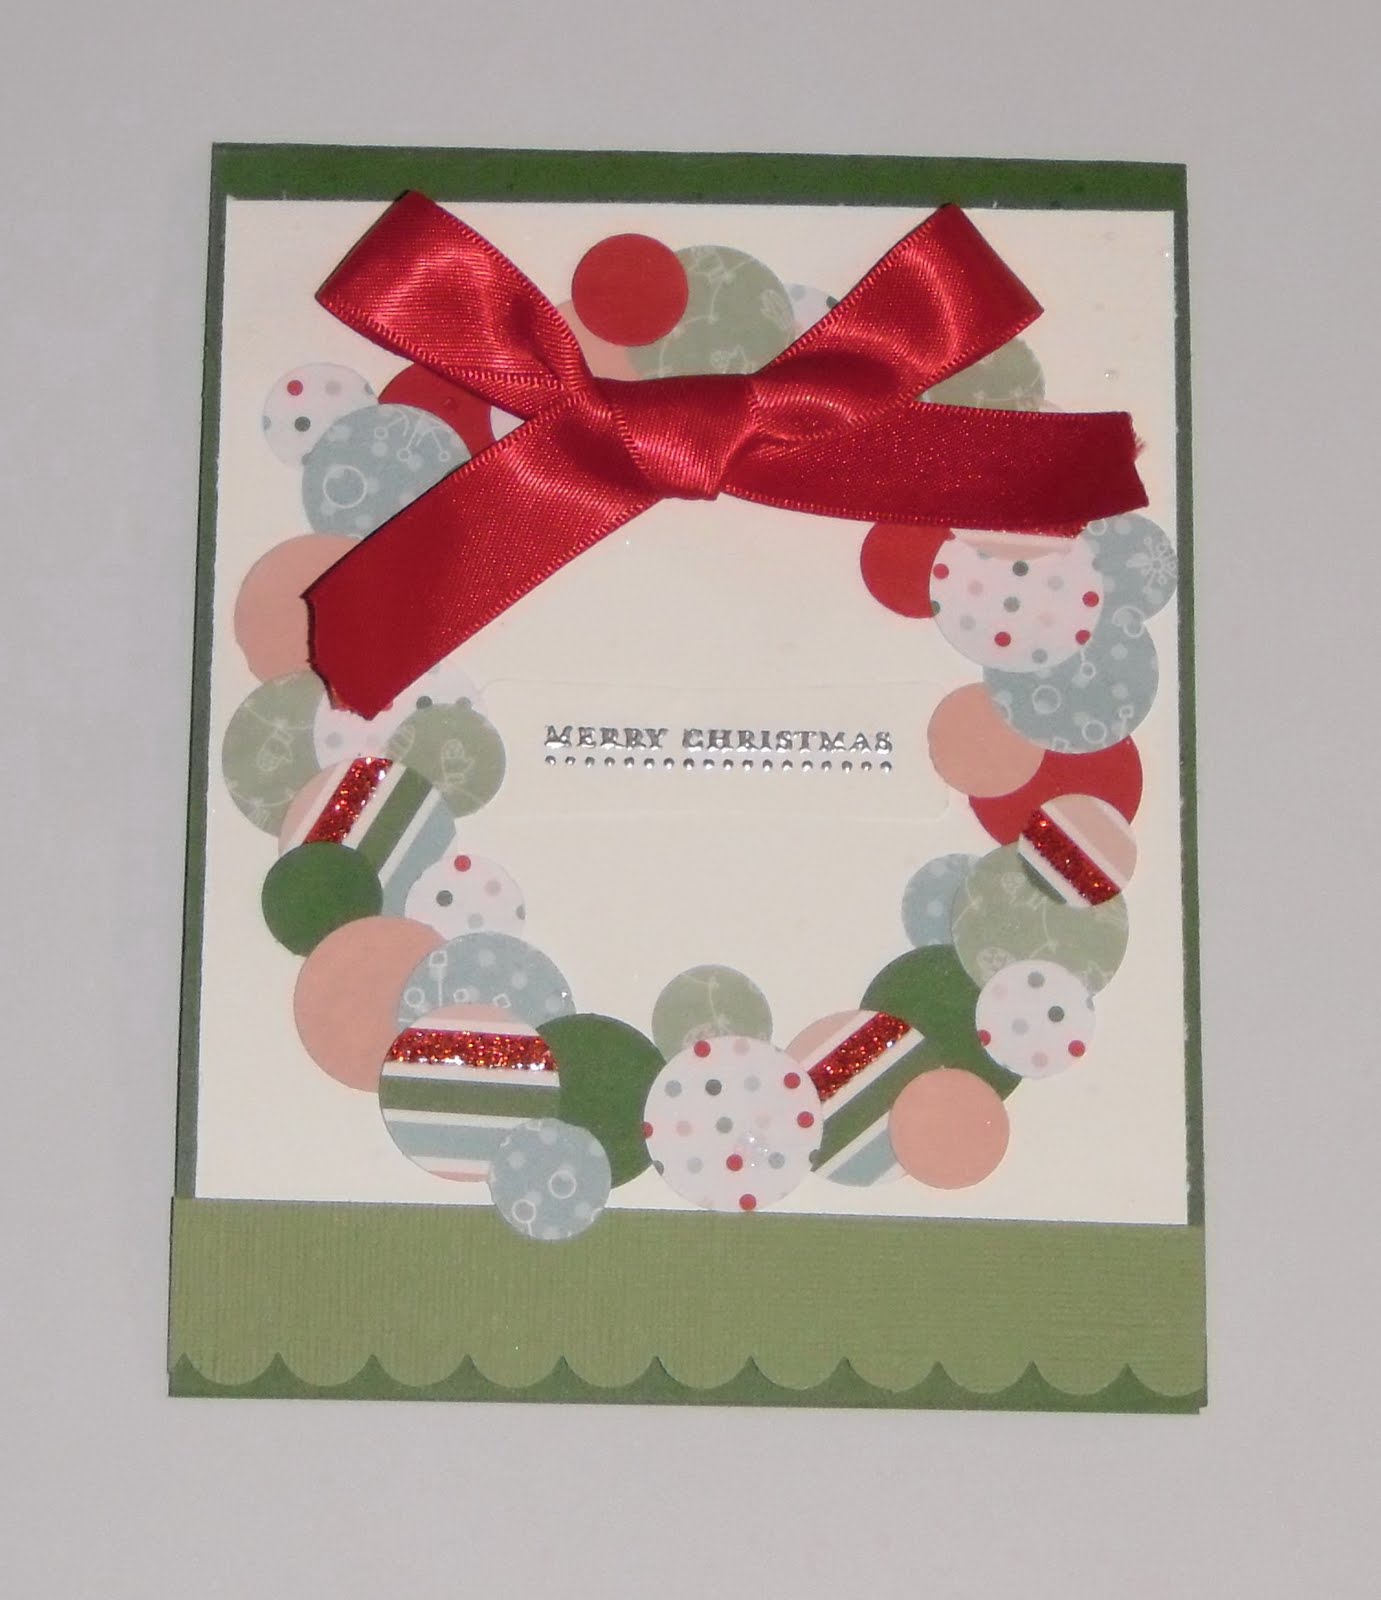
I am baaack........from holidays and ready to get back into the stamping groove!  I hope everyone is enjoying their summer.  I can't believe is is August 11 today.  Wow where is the summer going.  Before we went away on holidays I had a ribbon and embellishment assortment.  For the people that registered for both assortments I gave them a "stamping surprise"...........here is a picture of one of the 3 x 3 card assortments I gave to some of them as
their stamping surprise.  I had fun making these little 3 x 3 cards.  3 x 3 cards are the perfect size.  They are quick to make and a simple way to say thanks!


Stampin' Up! Supplies used:
Stamp Set: Season of Friendship
Paper: Early Espresso card stock, Crumb Cake card stock, Whisper White card stock
Ink:  Cajun Craze Classic Stampin' Pad, Marina Mist Classic Stampi' Pad, Cherry Cobbler Classic Stampin' Pad, Daffodil Delight Classic Stampin' Pad,
Accessories: Scallop Border Punch, Rhinestone Jewel, Mat Pack and Paper Piercer


Stampin' Up! Supplies used:
Stamp Set: Birthday Bliss
Paper: Soft Suede card stock, Bashful Blue card stock, Whisper White card stock
Ink: Certainly Celery Classic Stampin' Pad, Soft Suede Classic Stampin' Pad
Accessories: Flower Designer Brad, Big Shot Die-Cut Machine, Perfect Polka Dots Textured Impressions Folder, Stampin' Dimensionals

For some reason I couldn't get a clear picture of the Daffodil Delight Sunflower 3 x 3 card I made.  I will try again and upload it soon.

To order the products to make this card, please contact me directly or go online to my Stampin' Up! Demonstrator website. There is a direct link on the left hand side of my blog.


Happy Stamping!
Michelle